


Did you miss HTML for Bloggers Lesson 1? If so, go to Lesson 1 then come back for Lesson 2. C’mon, don’t cut corners.
In Lesson #1, we learned about the basics of Web pages and started learning about marking up documents, literally. The purpose of Lesson #1 is to give you a visual understanding of how HTML works. We’ll continue driving that point here in Lesson #2 then we’ll start learning about the key HTML tags.
HTML Tags
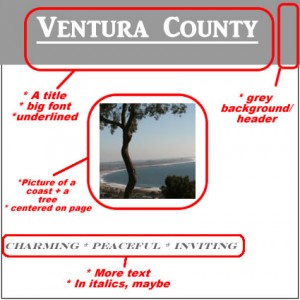
In Lesson #1, we marked up a little Web page. In that exercise you wrote on the page and described what was going on in the page. You may have circled things or used arrows as I did in my marked up version below.
Each of those instructions could be described using HTML tags. Tags are little instructions used by the HTML scripting language to describe page contents.
For example, the heading on the document could have been described as being “large”. That could have been described using the “font” tag.
Then, there is a photo of the Ventura coast. We could have described that in the HTML code by using the “img” tag which stands for “Image.” The “img” tag allows us to set properties on that tag. We would have set the “src” property to be the Web location of that Ventura coast image.
HTML Page Structure
Once again, think of HTML tags as sets of instructions. Each instruction starts with a beginning tag, such as < html > then ends with an end tag which begins with a ” < /", such as < /html >. The end tag gives the page the instruction that it can stop doing whatever it was previously doing.
This is the main tag structure of an HTML document (the Web page).
 Another way to think about this start tag-end tag convention is the old Simon Says game. “Simon says, pat your belly.” In the game, you start patting your belly. In HTML, you start a new tag. “Simon says, rub your head.” In the game, you keep patting your belly then start rubbing your head. In HTML, you don’t end a tag just because you started a new one. That means that whatever HTML element you started is still in play and now you’re starting a new one.
Now that we learned about HTML tags and its basic structure, let’s create our own Web page from scratch. Follow along on the video.
If you watched the video and did the little “homework” then you should have created your own Web page. Did you? Prove it by uploading it to Flickr and adding a link in the comments.
The only way to know if you like this mini-course is by your comments and questions. Don’t be shy!