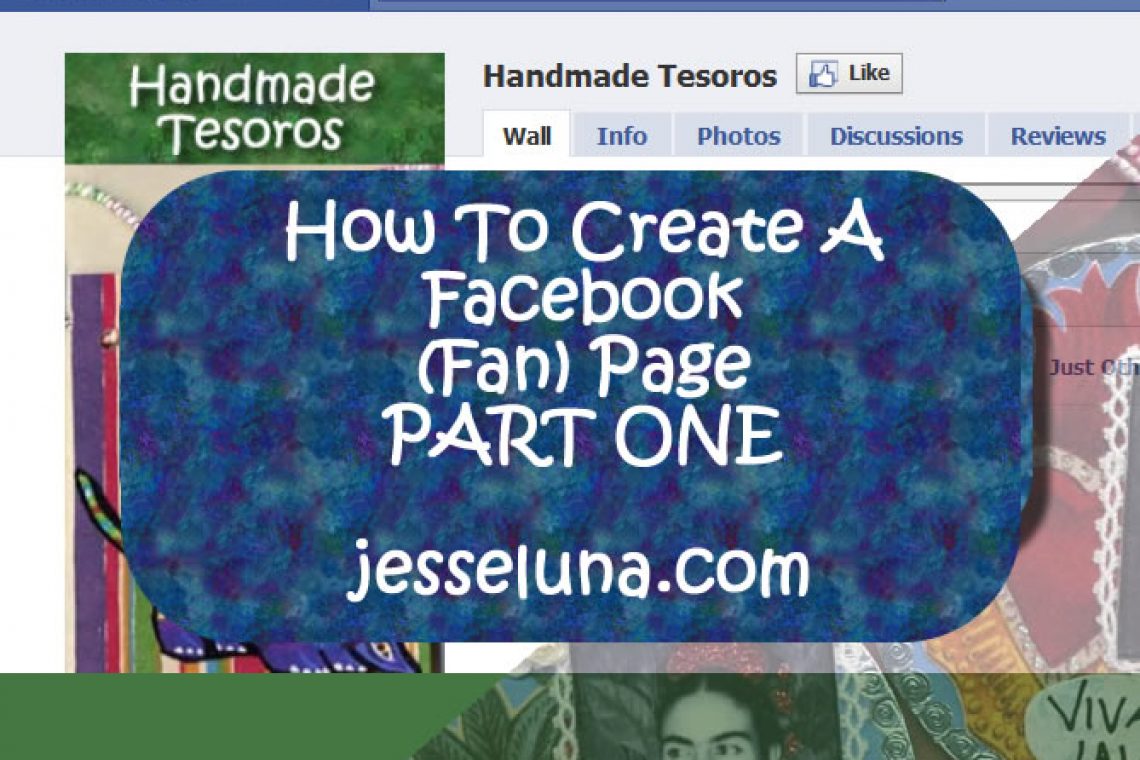
Facebook Pages allow businesses and individuals to create rich branded pages within Facebook. Every major brand in the world is running to build engaging and “sticky” pages on Facebook, because that’s where the people are.
Are your customers, non-profit supporters, constituents, and neighbors on Facebook? You betcha. So why not give them an opportunity to connect with you and your brand?
This tutorial will show you how to get started on building your own Facebook Page (I refer to them as “Fan Pages” in the video). This is Part One of the Facebook Fan Page project so make sure you bookmark this page, subscribe to the email blog posts, and/or subscribe to the RSS feed to keep track of further developments.
Your feedback is golden. I love Comments like a fat kid loves cake.
And don’t forget to view the full Transcript below.
[stream provider=youtube flv=http%3A//www.youtube.com/watch%3Fv%3DZkK2aJv4xDA img=x:/www.jpluna.com/wordpress/wp-content/uploads/2010/06/FP-Page-Video-Front.jpg captions=x:/www.jpluna.com/wordpress/wp-content/uploads/2010/06/transcript.xml embed=true share=true width=560 height=340 dock=true controlbar=over bandwidth=high title=How To Create A Facebook (Fan) Page autostart=false /]
Transcript
[Music]
Hi this is Jessse Luna. Today I’m going to show you how to create your own Facebook Fan Page.
First go to Facebook and get logged in then navigate over to the “Ads and Pages” link and click on that.
I just clicked on that. You’ll see a couple of the other Fan pages that I’ve created.
We’re going to create a new page so click on the Create a Fan Page button [Create Page].
This will take you to the Create A Fan Page [Create a Page] site [page].
And we are going to select “Local Business.” Select the type of business. This is going to be a Store.
Now we put the name of the page [typing]
And I put in “Handmade Tesoros” is the name here.
I select that I am the official representative
And now I’m ready to create the official page
I click on the button
And there we are, we’ve already gotten started. We now have a Facebook Fan Page.
Now it’s time to configure it and make it look pretty.
So let’s start with adding a nice picture here.
We go up and click on the Edit Picture. We’re going to Upload a Picture.
Now we’re going to browse and navigate to the picuture that we’re going to upload.
There it is.
[Picture is uploading] The ideal size for a picture is 200 width by 600 height.
Although you can use different shapes if you like.
But this is a nice size because if fills up that whole left side of the page.
You can see that is really nice and it takes full advantage of the space that is available there.
Now we have our Handmade Tesoros logo there.
We’re ready to do some more configuration so we’re going to go down to the Edit Page
And click on the Edit Page link.
And I just want to take a look at some of the Wall Settings.
The important section is to make sure these are all checked on here.
And these are the Fan Permissions.
And this will help you get your fans more activated in things that are going on with the Fan Page.
It’ll allow them to post photos, videos, and links on there.
You want to make sure that that’s turned on.
The second thing we want to do is to add the Static FBML application.
So I’m going all the way to the bottom of the page where it says “More Applications.”
And I’m clicking on the Static FBML page [link].
Now what you do is you go up and click on the “Add To My Page” link.
And I just clicked on that.
Now I select the page that I want to add it to. I select “Handmade Tesoros.”
And I can Close that and it’s been added.
Now I’m navigating back to my page. I just hit the Back button [on browser].
And I’m ready to go back to the pages.
[Navigating]
I took the long way there
And now I’ve done some very basic configuration. We added our picture
and we added this strange FBML section to our fan page.
The last thing we want to do on this uh part of the video is to
update the little information section
Right where it says “Write something about” and then your page name.
And we’re just going to go in there and put a description.
And that’s saved. You just have to enter it.
And then we’ll get back in the next video and learn how to configure the FBML section.
[music]

